How Dr. Pimple Popper Covers Up a Pimple — Step-by-Step
A dermatologist reveals how to hide breakouts while keeping skin healthy.
Published:
4 minute read
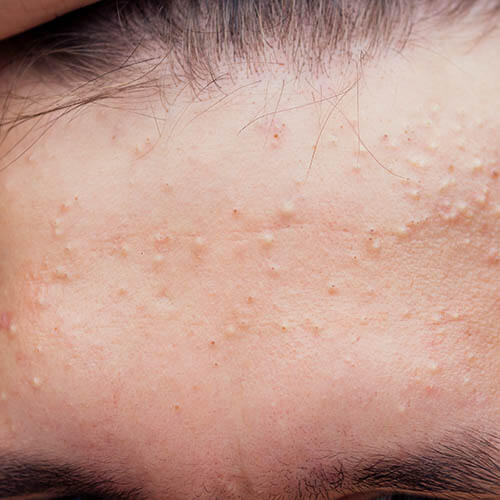
We’re all for showing off natural skin — acne and all. But sometimes, you’d rather let a breakout take a back seat.
The good news? You don’t have to be a professional makeup artist to camouflage a blemish. With the right skincare prep, tools, and a few tricks from Dr. Pimple Popper, you can cover a pimple without making it worse.
Quick tips for covering pimples with makeup
- Always start with clean, treated skin
- Use thin layers — less is more
- Press, don’t rub, to avoid lifting concealer
- Remove makeup completely before bed
Makeup and skincare products you need to cover a pimple
- Gentle exfoliating cleanser
- Targeted acne spot treatment
- Lightweight, non-comedogenic moisturizer
- Daily sunscreen
- Green or yellow-toned color corrector (optional)
- Non-comedogenic foundation/concealer
- Translucent or skin-tone setting powder (avoid shimmer)
- Soft brushes (flat + detail)
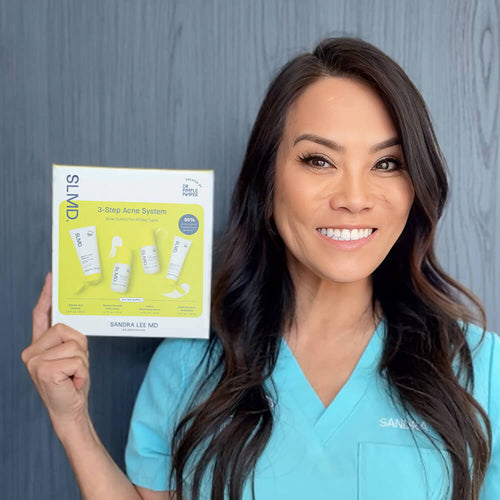
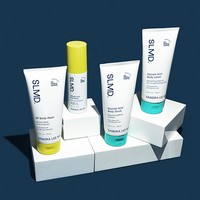
Dr. Pimple Popper’s Makeup Prep Picks


How to cover up a pimple with makeup
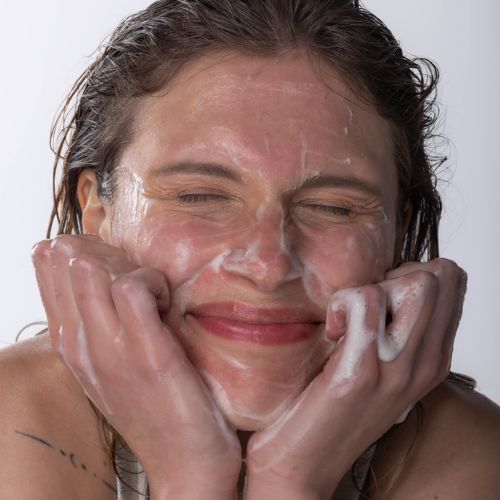
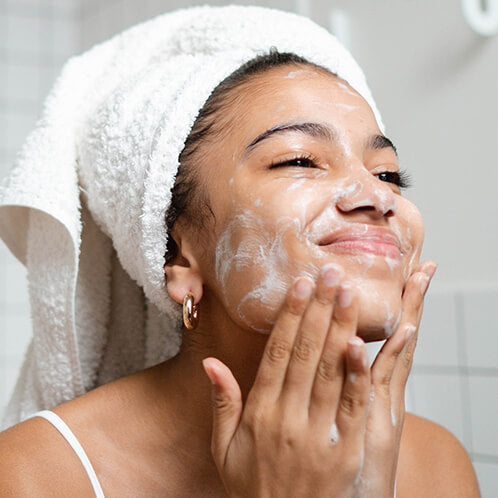
Step 1: Skincare first
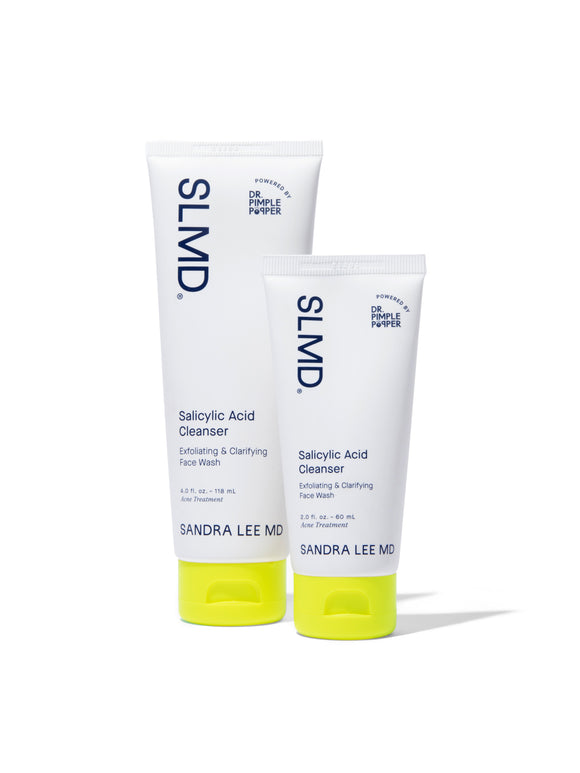
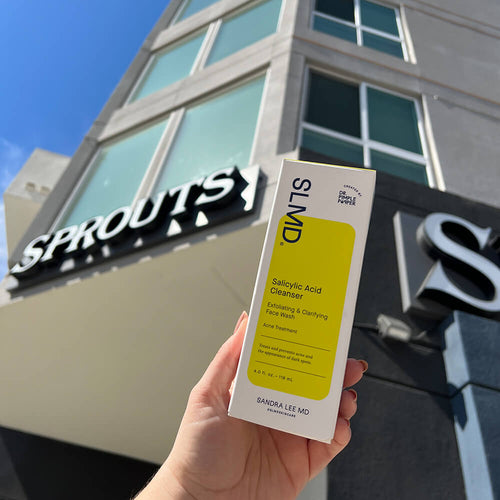
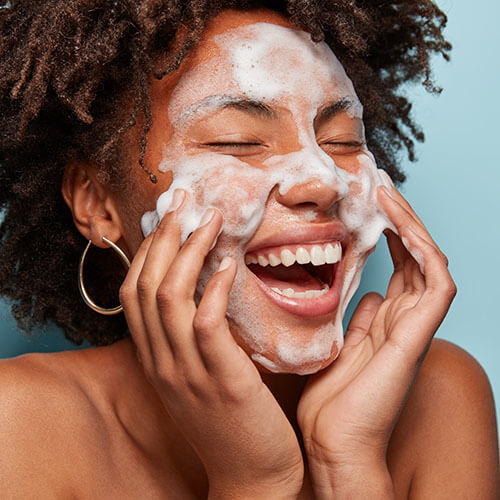
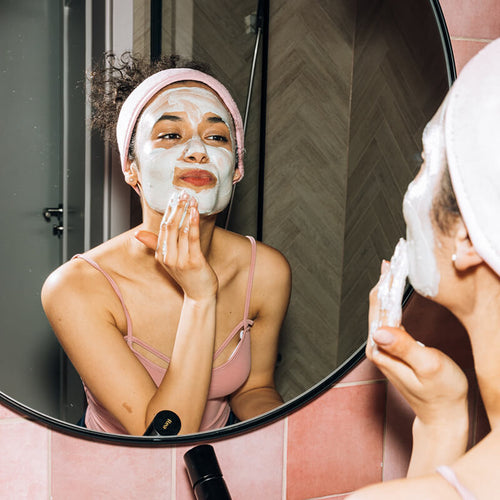
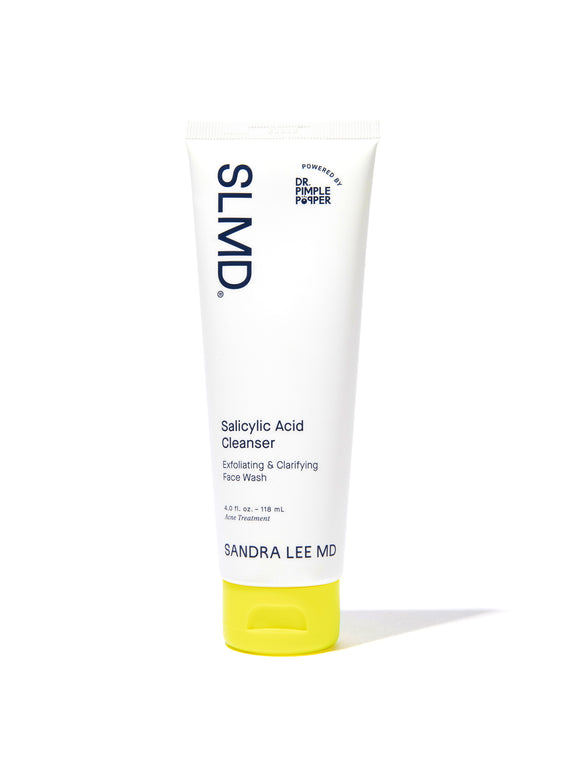
- Cleanse: Use a gentle salicylic acid cleanser to deep-clean pores without stripping.
-
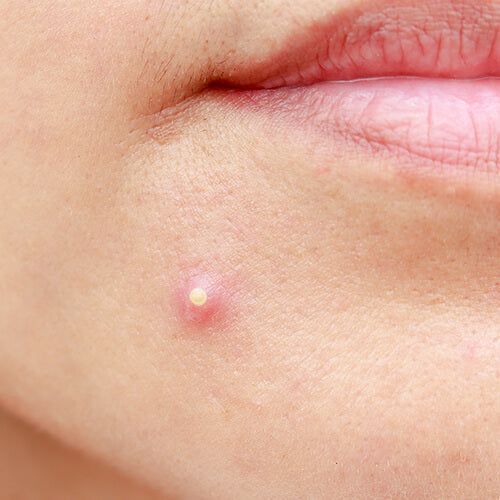
Treat: Apply spot treatment directly to the pimple.
- Use salicylic acid for blackheads and whiteheads
- Apply benzoyl peroxide for inflamed pimples
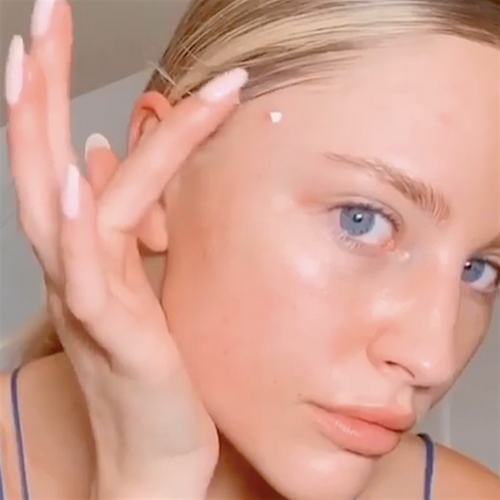
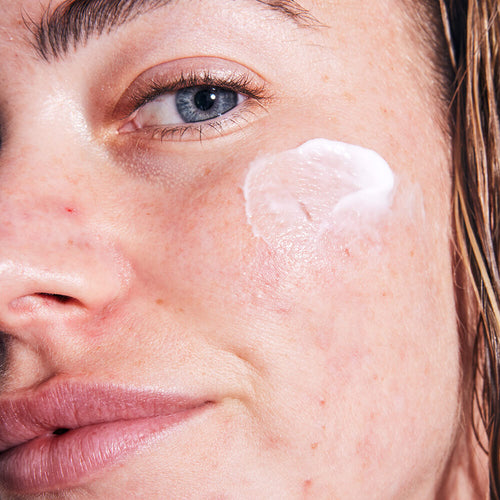
- Moisturize: Smooth on a lightweight, non-comedogenic moisturizer to prep skin.
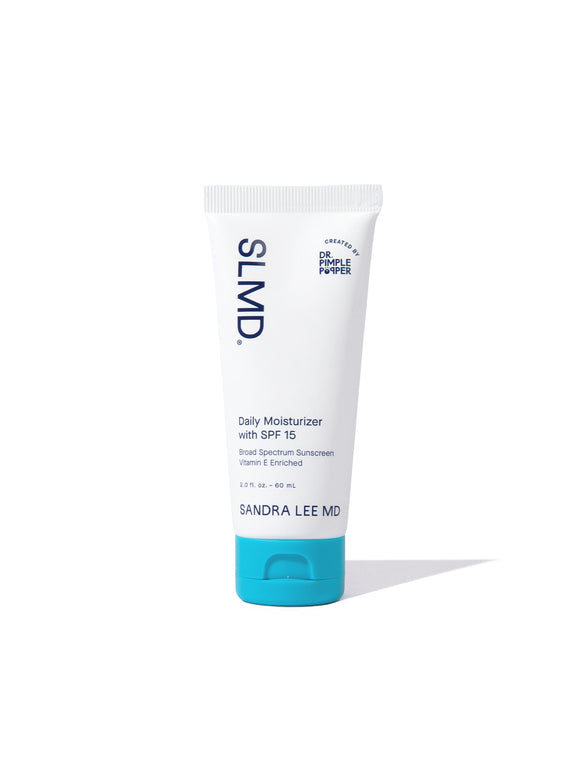
- Protect (daytime): Always finish with sunscreen.
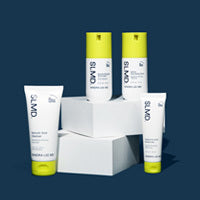
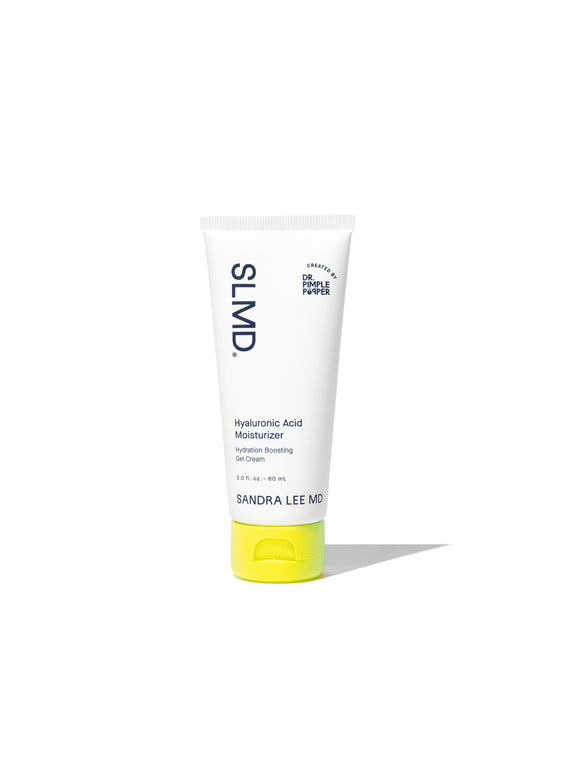
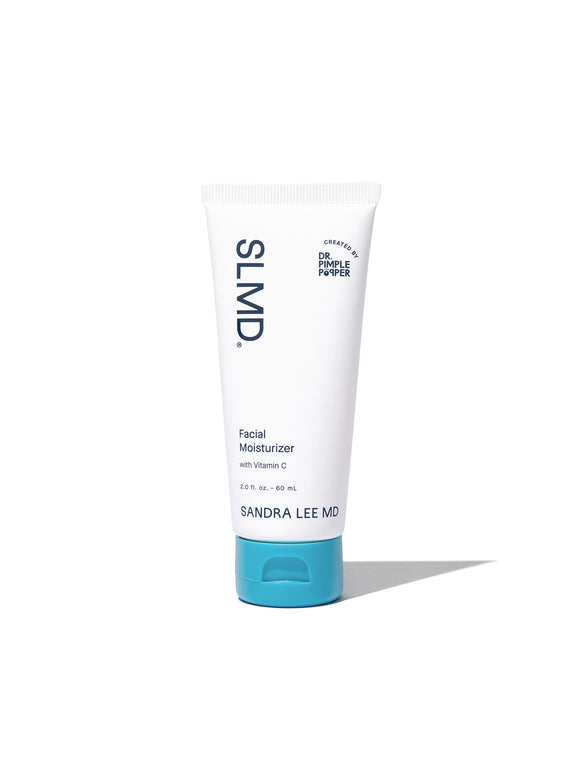
Try: SLMD Salicylic Acid Cleanser, SA Acne Spot Treatment, BP Acne Spot Treatment, Facial Moisturizer with Vitamin C, Hyaluronic Acid Moisturizer
Dr. Pimple Popper tip: "The smoother your skin is before makeup, the more seamlessly you’ll be able to cover a pimple. Prepping makes all the difference."
Step 2: Neutralize redness (optional)
To camouflage redness before concealer, dab on a color corrector. Green works well for red pimples; on deeper skin tones, a yellow or olive corrector may look more seamless. Apply sparingly with a small brush — thin layers are best.
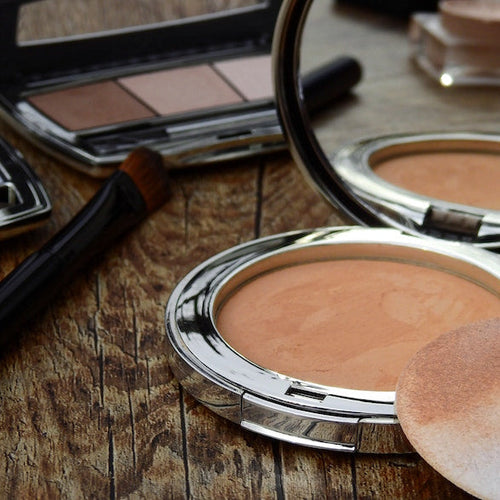
Step 3: Foundation (optional)
Foundation isn’t essential, but if you normally wear it, apply after corrector and before concealer. Choose a non-comedogenic formula that matches your skin tone. For multiple breakouts, an opaque foundation (like Dermablend) can help. For just one or two pimples, stick with natural coverage. Apply with a brush or sponge, pressing rather than rubbing over blemishes.
Dr. Pimple Popper tip: “If you’re putting makeup on with dirty fingers or brushes, you’re just adding fuel to the fire. Keep it clean when you apply — your skin will thank you.”
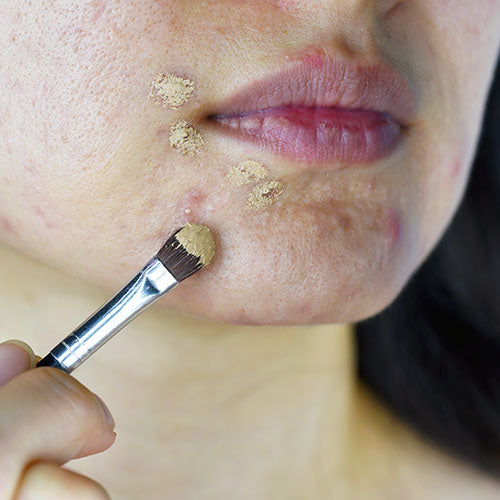
Step 4: Concealer
This is the hero step. Choose a fairly opaque, non-comedogenic concealer close to your skin tone.
- Red pimple: correct first, then cover with skin-tone concealer.
- Flaky pimple: smooth a tiny bit of moisturizer on flakes, then apply concealer in thin layers.
- Tender/cystic bump: use a light touch — piling on product makes bumps more obvious.
Apply in thin layers with a flat concealer brush or fine detail brush, feathering out edges to blend.
Step 5: Lighting check
One of the biggest mistakes? Not checking your work in good lighting. What looks flawless in a dim bathroom may be obvious in sunlight. Try natural light near a window, or use a ring light/phone flashlight from different angles.
Step 6: Set with powder
Dust on a small amount of translucent or skin-tone powder with a soft brush. Press gently rather than buffing, to avoid disturbing concealer. A light spritz of setting spray can help take down any powdery finish.
One more quick lighting check, and you’re good to go.
How to hide a pimple without makeup
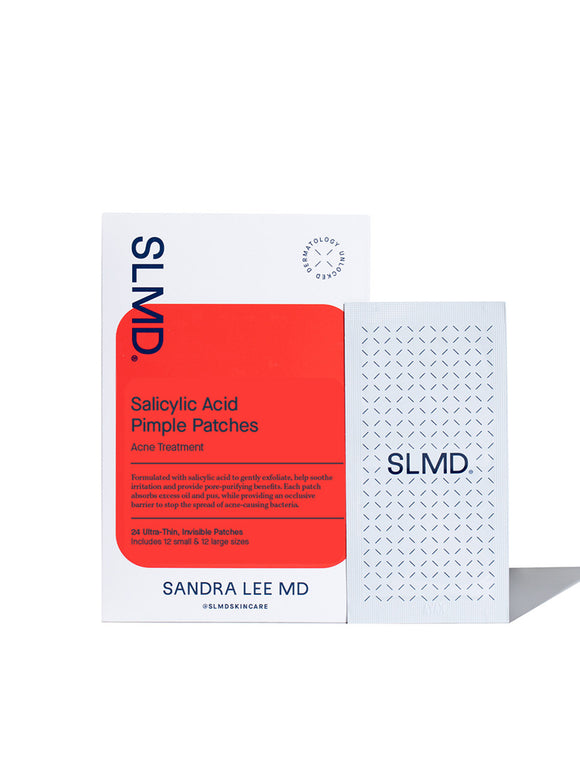
Sometimes makeup just isn’t the best option. If a breakout is raw, open, or scabbed, concealer can cling to texture and slow healing. That’s when a pimple patch can help — it acts like a barrier to protect the spot and keep your hands off.
Dr. Lee prefers medicated acne patches that are are ultra-thin and transparent, so you can wear them on their own or even put makeup on top. Others are designed to be seen — think small dots or shapes — which can double as a “don’t touch” reminder when you’d rather skip concealer altogether.
Try: SLMD Salicylic Acid Pimple Patches
Makeup mistakes that make pimples look worse
- Too much product: Over-layering emphasizes bumps and flakes.
- Rubbing instead of pressing: Lifts concealer right off the blemish.
- Skipping removal: Leaving makeup on overnight can clog pores and trigger new breakouts.
Dr. Pimple Popper tip: “Take the time to gently remove concealer and foundation from your pimples before bed. It gives your skin a chance to heal instead of staying clogged and inflamed.”
Acne and makeup: your top questions answered
Q: Is makeup bad for acne?
A: Not if you choose non-comedogenic products, use clean brushes, and remove makeup thoroughly. For a deeper dive, check out our blog Does Makeup Cause Acne?.
Q: Can I cover a pimple that’s oozing?
A: It’s better to clean, treat, and let it settle first. A thin patch under minimal makeup can help protect the spot.
Q: Why does my concealer look cakey?
A: Usually from applying too much or over dry flakes. Smooth first with moisturizer, then layer thinly.
Q: Do I really need a green corrector?
A: Not always — but it helps mute redness. On deeper skin tones, yellow or olive tones can look more natural.

Dr. Lee's Last Word
When you get a pimple, the best thing you can do is keep it clean, treat it, and don’t pick. But if you’d rather cover it up, remember: be gentle, press (don’t rub), and always wash it off before bed.